

Choose hiking boots by fit first, then match boot type to terrain and load.
If you want to know how to choose hiking boots that work on real trails, start with your feet and your goals. I’ve fitted hundreds of hikers and tested boots from desert dust to alpine snow. In this guide, I’ll show you how to choose hiking boots with a clear step-by-step method, backed by field experience and expert insight.
Fit comes first
Fit is the difference between a dream hike and a long, painful limp. The right boot fits your length, width, and foot volume, and keeps your heel locked without crushing your toes. Think of fit as a handshake: firm, even, and never pinching.
Use this simple method to dial in size:
- Measure both feet at day’s end when they’re slightly swollen.
- Wear the socks you plan to hike in and any orthotics you use.
- Check length with a thumb’s width in front of your longest toe on flat ground.
- Walk a ramp or stairs; your toes should not hit on the way down.
- Do a heel lock (runner’s loop) to test heel hold and remove slippage.
What I’ve seen on the trail: most blisters come from small boots or poor heel lock, not from “new boots.” If in doubt between sizes, go up a half size for downhill room. Wide feet need wide lasts; do not try to “stretch” a narrow boot with time.
Types of hiking footwear
Knowing how to choose hiking boots starts with matching type to trip. Choose the lightest option that still supports your terrain, load, and comfort.
- Trail running shoes: Best for fast, dry trails and light packs. Great breathability and comfort. Limited ankle coverage.
- Light hiking shoes: A bit stiffer than runners, with better toe caps and grip. Good for day hikes and easy overnights.
- Mid-cut hiking boots: Added ankle coverage and support for mixed terrain. Solid for weekend trips and moderate loads.
- Backpacking boots: Stiffer midsoles, taller cuffs, and robust uppers. Ideal for rough trails and heavy packs.
- Mountaineering boots: Very stiff, often crampon-ready. For glacier, snow, and steep alpine routes.
My rule: if your pack is heavy, your boot should be stiffer. If your trail is smooth, lighter is better. This balance is core to how to choose hiking boots that you’ll enjoy wearing.
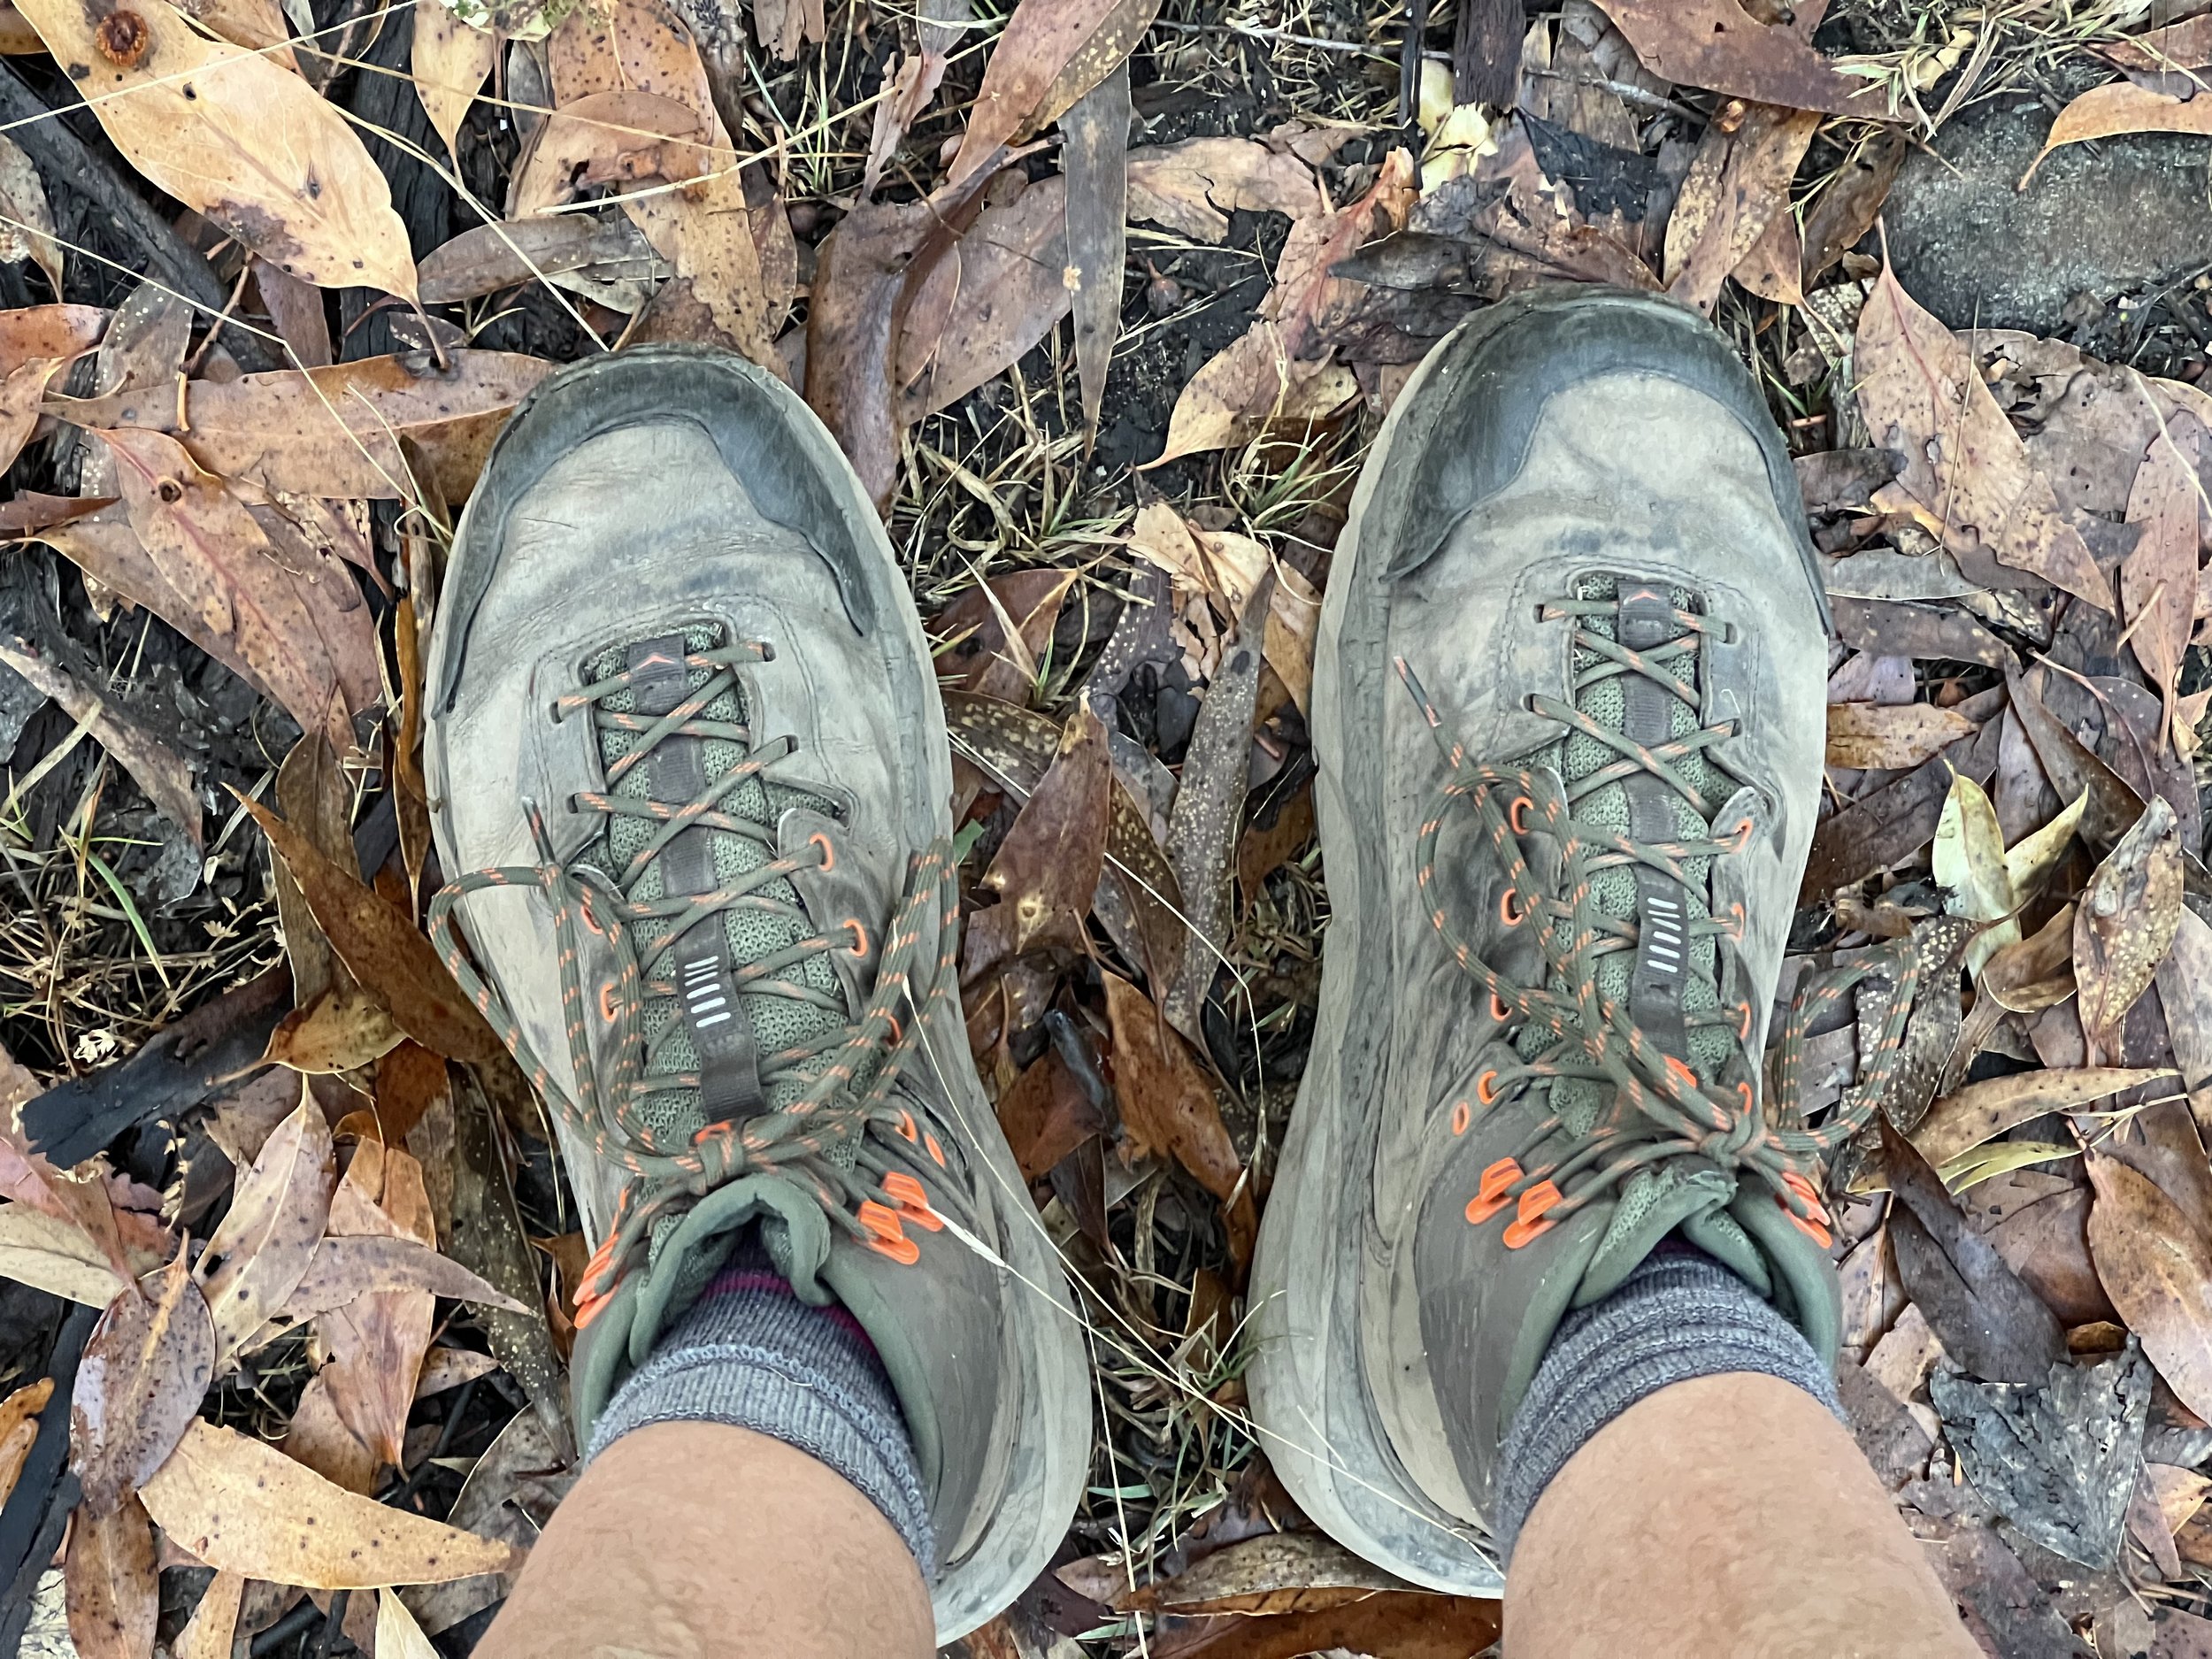
:max_bytes(150000):strip_icc()/061623-Hiking-Boots-0f5aa3b6cfb645e8a018f12c6708629d.jpg)
Upper materials and waterproofing
Materials control durability, breathability, and break-in. Understanding them is key to how to choose hiking boots that last.
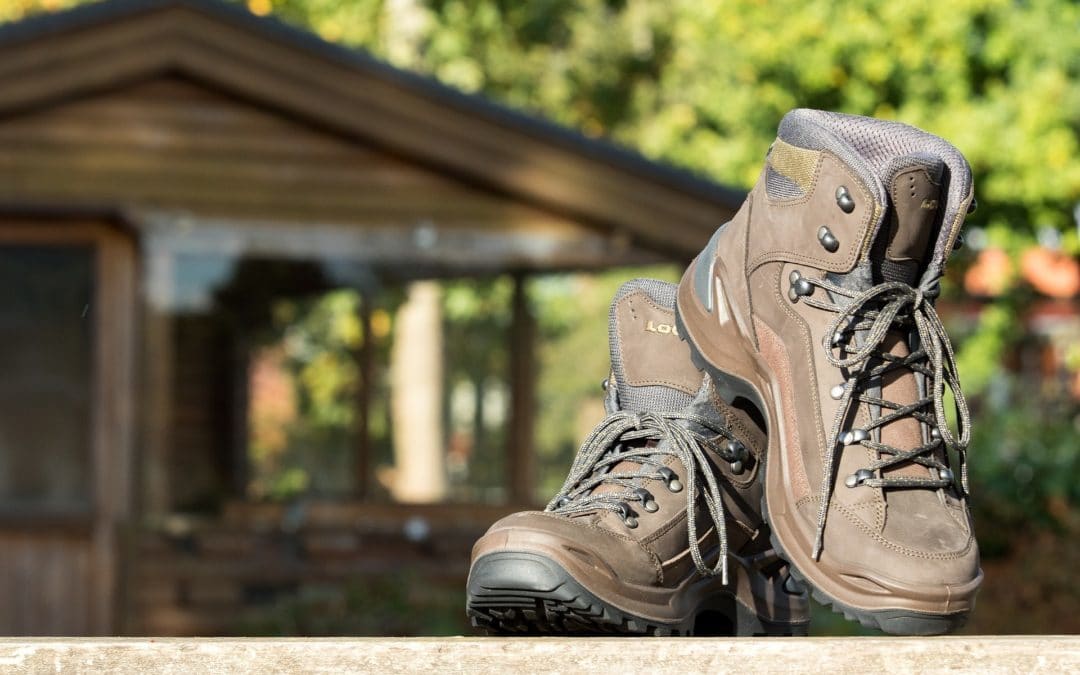
- Full-grain leather: Most durable and supportive. Heavier, longer break-in. Great for off-trail and heavy loads.
- Nubuck leather: A bit softer and lighter. Good balance of support and comfort.
- Synthetics (nylon, mesh, knit): Light, quick-drying, and comfy out of the box. Less durable under heavy abrasion.
Waterproof membranes, like Gore-Tex or eVent, keep water out but also hold moisture in. They shine in cold, wet, or shallow slush. In hot summer, non-waterproof boots dry faster and breathe better. If you hike in rain or snow, use waterproof boots with gaiters. If you hike in heat, go airy and plan to dry.
Midsoles, support, and underfoot feel
Midsole foam shapes how the boot rides. This is a core part of how to choose hiking boots for your joints and stride.
- EVA foam: Soft, light, and cushy. Great shock absorption. Can compress sooner with heavy use.
- PU foam: Firmer and long-lasting. Better under heavy loads. Heavier than EVA.
- Plates and shanks: Add stiffness and rock protection. Good for sharp, rocky trails.
- Heel-to-toe drop: Lower drop feels more natural to some. Higher drop eases Achilles and calves.
If your arches tire fast, choose a stiffer boot or add supportive insoles. A stable platform reduces foot fatigue on long days. I switch to PU midsoles for multi-day trips with big food carries.
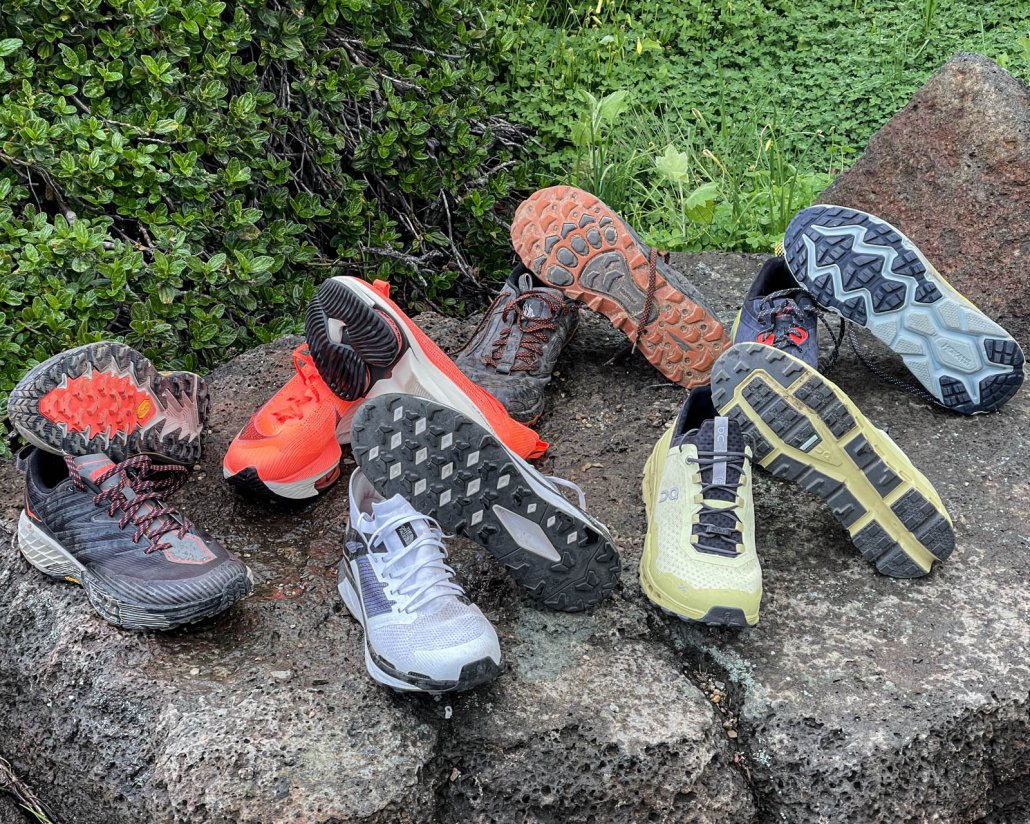
Outsoles, grip, and terrain match
Traction depends on rubber, lugs, and the outsole pattern. This part matters a lot when you’re learning how to choose hiking boots for your home trails.
- Rubber compounds: Softer rubber grips wet rock but wears faster. Harder rubber lasts longer but may slip on smooth stone.
- Lug depth: Deeper lugs bite into mud and soft soil. Shallower, tight lugs roll smoother on hardpack.
- Heel brake: A defined heel edge helps control descents.
- Rocker shape: A curved sole promotes a smooth stride and reduces calf strain.
On wet roots, choose sticky rubber. For desert slabs, prioritize edging support and a flatter, grippy forefoot. For mud, go deeper lugs and clear spacing to shed clay.
How to try boots in-store or at home
Testing is where how to choose hiking boots becomes personal. Do these quick checks before you buy.
- Stair test: Descend two flights. Toes should not slam the front.
- Edge test: Stand on a step’s edge on your forefoot. Assess underfoot support.
- Lateral roll: Gently tilt your ankle side to side. Boot should resist without feeling rigid.
- Heel lock: Lace to the top and do a heel lock. Minimal heel lift reduces blisters.
- Sock test: Try with your thinnest and thickest hiking socks to check range.
Walk at least 10 minutes indoors. Any hot spot you feel in the first mile usually gets worse outside. This is the moment to fine-tune how to choose hiking boots that truly fit your feet.
Lacing techniques that change the fit
Small lacing tweaks solve common pain points. This is a fast win in how to choose hiking boots and make them work.
- Runner’s loop: Locks the heel by using the top eyelets to form loops and crossing through.
- Window lacing: Skip the eyelets over a pressure point to remove top-of-foot pain.
- Toe relief: Start lacing from the midfoot to leave the toe box a bit looser on descents.
- Ankle isolation: Tighten the lower laces, then lock at the mid-eyelets. Keep the cuff snug but not tight.
I often fix “toe bang” on steep downhills with a runner’s loop plus toe relief. It takes one minute and saves toenails.
Break-in, hot spots, and blister prevention
Modern boots need less break-in, but your feet still adapt. A short plan helps, especially when you’re learning how to choose hiking boots for your first big trip.
- Wear boots at home for a few hours. Then do two short hikes before a long one.
- Spot a hot spot early? Stop, dry the skin, tape with Leukotape, and adjust lacing.
- Use breathable hiking socks with a smooth knit. Add a thin liner sock if you blister.
- Keep feet dry with foot powder in heat and breathable boots when possible.
If you feel friction, deal with it right away. Friction becomes heat, then blisters. Prevention beats any blister kit.
Care, maintenance, and lifespan
Good care extends life and grip, which matters when you weigh cost in how to choose hiking boots.
- Rinse dirt after hikes; mud degrades fabric and leather.
- Air-dry with insoles out. Never use high heat.
- Reapply DWR spray to keep water beading on waterproof boots.
- Condition leather sparingly to avoid softening the structure too much.
- Replace when midsoles feel flat, tread is bald, or the heel counter collapses.
Most hikers get 400–800 miles from boots depending on weight, terrain, and care. Rotate pairs if you hike often to let foam rebound.
Budget, brands, and fit profiles
Price reflects materials and build, but fit still wins. This section rounds out how to choose hiking boots with a smart budget plan.
- Under $150: Light hikers and many shoes. Great for day hikes and easy trails.
- $150–$230: Strong mix of comfort and durability. Most hikers find their match here.
- $230 and up: Premium leather, advanced membranes, resolable soles, or mountaineering features.
Brand fit varies. Some run narrow, some wide, and some high-volume. Try multiple lasts, not just sizes. If wide or high-volume options exist, start there rather than upsizing.
Seasonal and regional choices
Your climate shapes how to choose hiking boots more than you think. Pick for your season first, then your trail.
- Hot and dry: Non-waterproof mesh with quick-dry socks.
- Wet and cool: Waterproof mids with gaiters and a grippy outsole.
- Winter: Insulated boots, aggressive lugs, and room for thicker socks.
- Desert: Durable toe caps, breathable uppers, and rock plates for cactus spines.
If you switch seasons, keep two pairs. One breathable shoe for summer, one waterproof boot for shoulder seasons.
Sustainability and repair options
How to choose hiking boots also means buying for the long haul.
- Look for resolable models and replaceable insoles and laces.
- Choose PFC-free DWR where possible to cut chemical runoff.
- Repair small upper tears with patches or shoe goo before they grow.
- Donate or recycle when the boot is done; some brands offer take-back programs.
Longer-lasting boots lower waste and cost over time. A little care keeps them on the trail and out of landfills.
Common mistakes to avoid
These errors come up again and again when people ask how to choose hiking boots.
- Buying too small and hoping they “stretch.” Boots do not lengthen.
- Trusting waterproofing in summer heat when breathability matters more.
- Ignoring foot volume; a tight top-of-foot causes numbness and pain.
- Skipping the downhill test, then losing toenails on the first big hike.
- Choosing a heavy boot for smooth local trails and quitting due to fatigue.
Avoid these and you’re halfway to happy miles.
Frequently Asked Questions of how to choose hiking boots
How do I know if my hiking boots are the right size?
Your toes should not touch the front on descents, and your heel should not lift more than a hair. You want a thumb’s width in front of your longest toe and even pressure across the midfoot.
Are waterproof boots always better?
No. Waterproof boots are great in rain, snow, and cold, but they trap heat. In hot, dry weather, non-waterproof boots breathe and dry faster.
Do I need ankle support for day hikes?
Not always. A stable midsole and good heel lock prevent most ankle rolls. Mid-cut boots help in uneven terrain but are not a cure-all.
How long do hiking boots last?
Most last 400–800 miles depending on terrain, load, and care. Replace when the tread is worn, the midsole feels flat, or the boot tilts your ankle.
What socks should I wear with hiking boots?
Use moisture-wicking wool or synthetic hiking socks with a smooth knit. For blister-prone feet, add a thin liner sock and keep feet dry.
Should I go up a size for thicker socks?
Often a half size up is enough, but test with your real socks. Make sure you still have downhill toe room and solid heel hold.
How do I choose between EVA and PU midsoles?
Pick EVA for comfort and lighter loads, and PU for durability under heavy packs. If you feel foot fatigue, try a stiffer midsole or supportive insoles.
Conclusion
Choosing the right boots is a process, not a guess. Start with fit, match the boot to your terrain and load, and test the details like midsoles, lugs, and lacing. When you apply this method for how to choose hiking boots, you get comfort, control, and confidence on every mile.
Try on two or three models this week using the tests above, and take a short shakedown hike. Ready for more trail-proven tips? Subscribe for new guides, ask a question, or share your boot wins and fails in the comments.


